Steps to Successfully Recall an Email
Steps to Successfully Recall an Email
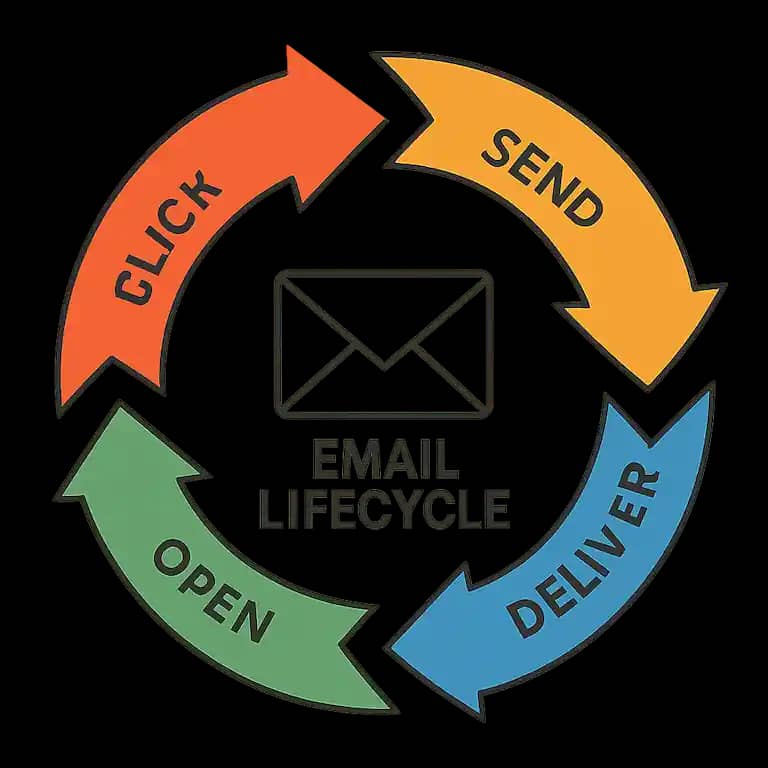
In our digital age, sending an email is often as simple as a click. However, there are times when an email is sent prematurely or contains errors, leaving us searching for ways to recall or unsend it. Whether you're using Gmail or Outlook, email platforms offer options to help you in such situations. In this guide, we'll explore how to successfully recall an email and discuss best practices to avoid similar issues in the future.
Before diving into the steps, it's important to understand what email recall entails. Email recall is the process of retracting an email after it has been sent. However, the ability to recall an email depends on several factors, such as the email platform you're using, the settings you have enabled, and whether the recipient has already opened the email.
Email recall is more than just a feature; it's a safety net for digital communication. It allows users to retract messages that might have been sent in haste or with errors. The recall process varies across different email platforms, often offering a limited time frame to act. Understanding the mechanisms of email recall can help manage expectations about its efficacy.
Email recall isn't foolproof. Numerous elements can affect its success, including the recipient's email server settings, the email client they use, and whether they've opened the email. For instance, if a recipient uses a different email service than the sender, the recall function might not work at all. Moreover, some email platforms don't support recall features, limiting your ability to retract messages.
Several situations necessitate the recall of an email. These include sending an email to the wrong recipient, including incorrect attachments, or discovering typographical errors only after sending. In professional settings, sending sensitive information to an unintended recipient can have significant consequences. Recognizing these scenarios can prepare you for quick action if recall becomes necessary.
Gmail offers a straightforward way to unsend an email, but it must be done quickly.
Step-by-Step Guide to Unsend an Email in Gmail
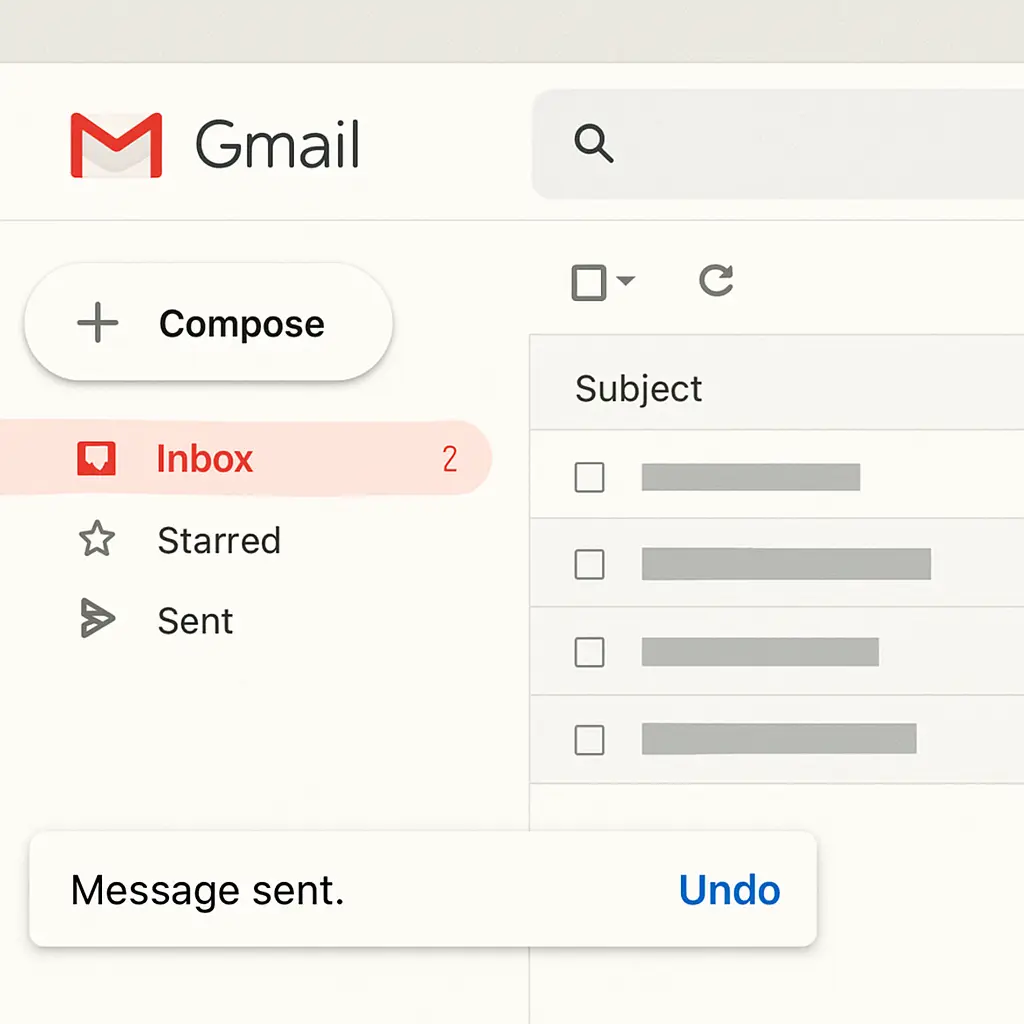
- Send the Email: After you press 'Send,' immediately look for a notification at the bottom left corner of your screen. This is the first indication that Gmail's unsend feature is active, providing a brief opportunity to retract the email.
- Click 'Undo': Within a few seconds, an 'Undo' option will appear in the notification. Click it promptly to retract the email, effectively stopping it from reaching the recipient's inbox. This step is crucial and time-sensitive, requiring quick reflexes.
- Adjusting Send Cancellation Period: To maximize this feature, you can adjust the cancellation period. By navigating to Gmail Settings, then the 'General' tab, you can find 'Undo Send' and set the cancellation period to your preferred time (up to 30 seconds), allowing more room for decision-making.
Limitations in Gmail
Gmail's recall feature is not without its limitations. If the recipient opens the email before you click 'Undo,' the recall attempt will be ineffective. Moreover, this feature operates strictly within the set cancellation window, emphasizing the need for prompt action. Understanding these constraints can help manage your expectations when using Gmail's unsend option.
Enhancing Recall Success in Gmail
To enhance the success rate of recalling emails in Gmail, consider using the platform's built-in features. Regularly review and adjust your settings to align with your emailing habits. Additionally, practice promptness when sending and reviewing emails to capitalize on the recall window. Consistent vigilance can significantly improve your ability to retract emails effectively.
How to Recall an Email in Outlook
Outlook provides a recall feature that can be more effective under certain circumstances compared to Gmail.
Steps to Recall an Email in Outlook
- Open Sent Items: Begin by navigating to your 'Sent Items' folder in Outlook. This folder contains all the emails you have dispatched, serving as the starting point for the recall process.
- Select the Email: Double-click on the email you wish to recall. This action opens the email in a new window, allowing you to access the recall options.
- Recall the Email: Click on 'File' and then 'Info.' Choose 'Message Resend and Recall' and select 'Recall This Message.' This initiates the recall process, offering options to either delete unread copies of the email or replace the message with a new one.
- Choose an Option: You will be given options to either delete unread copies of the email or replace the message with a new one. This flexibility allows you to correct mistakes or provide additional information.
- Receive Notification: If successful, you will receive a notification about the recall status. This feedback is crucial for confirming whether your recall attempt was effective.
Considerations for Outlook
For the recall feature to work effectively in Outlook, the recipient must not have opened the email. Additionally, the feature works best when both the sender and recipient are using Microsoft Exchange, a detail that can significantly impact recall success.
Maximizing Outlook Recall Capabilities
To maximize Outlook's recall capabilities, ensure that your email environment is conducive to successful recalls. Encourage recipients within your organization to use compatible email servers. Additionally, familiarize yourself with Outlook's settings to quickly navigate recall procedures when needed.
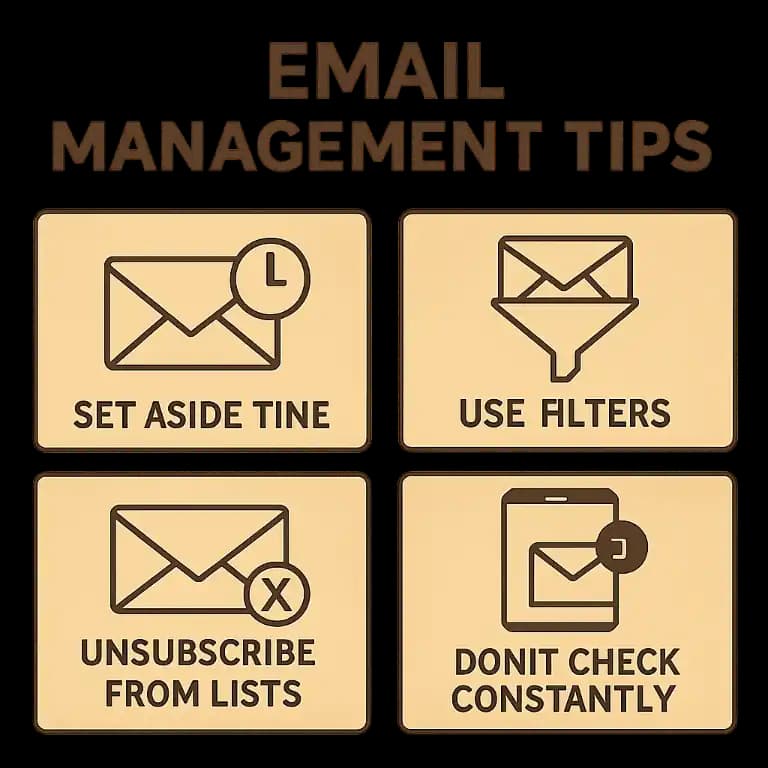
Best Practices to Avoid Email Recall
While recalling an email can save a situation, it's often best to avoid needing to do so in the first place.
Double-Check Before Sending
- Review Content: Always re-read your email for errors or sensitive information. A careful review can prevent unnecessary recalls and maintain professionalism.
- Verify Recipients: Ensure you're sending to the right people and using the correct email addresses. This step is critical to avoid miscommunication or data breaches.
- Check Attachments: Verify that any attachments are correct and relevant to the email content. Incorrect or missing attachments can necessitate recalls, disrupting communication flow.
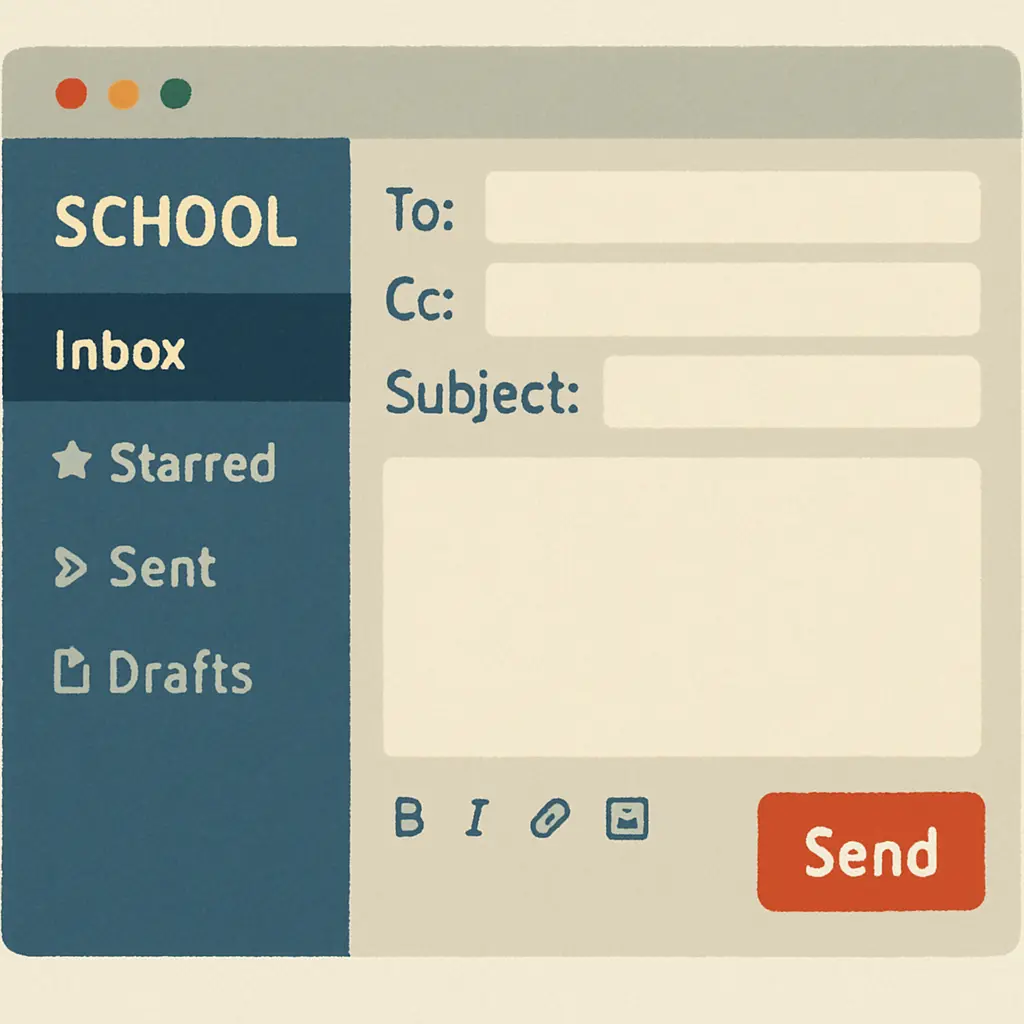
Use Drafts
- Draft Mode: Utilize the drafts feature to compose and review emails before sending. This practice allows time for reflection and ensures the message is well-crafted.
- Take a Break: If the email is important, take a short break before reviewing it again to ensure clarity and accuracy. A fresh perspective can help identify errors that were initially overlooked.
- Get a Second Opinion: For critical emails, consider having a colleague review the draft. A second set of eyes can catch mistakes and provide valuable feedback.
Enable Confirmation Prompts
- Confirmation Features: Some email platforms offer confirmation prompts before sending. Enable these to double-check your emails, providing an additional layer of review.
- Customize Alerts: Customize your email platform to alert you of common errors before sending, such as missing attachments or unspecified recipients. These alerts can prevent hasty mistakes.
- Regularly Update Settings: Keep your email settings up-to-date to ensure that all confirmation features are active. Regular updates can enhance security and efficiency.
What to Do When Recall Isn't Possible
Sometimes, recalling an email isn't possible or doesn't work. In such cases, consider taking the following steps:
Follow-Up Email
- Clarify Mistakes: Send a follow-up email to address any errors or misinformation. Clear communication can rectify misunderstandings and preserve professional relationships.
- Apologize if Necessary: If the email contained sensitive or incorrect information, a sincere apology can go a long way. Acknowledging mistakes shows accountability and respect for the recipient.
- Provide Correct Information: Ensure that any follow-up emails contain accurate information, correcting any previous errors. This step is essential for clarity and maintaining trust.
Contact the Recipient
- Direct Communication: If the email was critical, consider contacting the recipient directly to discuss the content. A phone call or face-to-face conversation can provide immediate clarification and reassurance.
- Acknowledge Mistakes: During direct communication, acknowledge any mistakes made in the initial email. Transparency can strengthen professional relationships and foster trust.
- Discuss Solutions: Use the opportunity to discuss potential solutions to any issues caused by the email. Collaborative problem-solving can turn a mistake into a positive outcome.
Learn from the Experience
- Reflect on the Situation: Take time to reflect on what led to the need for an email recall. Understanding the root causes can help prevent similar issues in the future.
- Implement Changes: Based on your reflection, implement changes to your email practices. This might involve adjusting settings, improving review processes, or enhancing communication skills.
- Share Lessons Learned: If appropriate, share your experience and lessons learned with colleagues. This can foster a culture of continuous improvement and collective learning.
Conclusion
Recalling an email can be a helpful feature, but it's not foolproof. Understanding the limitations and functionalities of your email platform is key to effectively managing sent emails. By adopting best practices and utilizing email recall features where possible, you can minimize errors and maintain professionalism in your communications.
Remember, the best way to handle email mishaps is to prevent them from happening in the first place. By taking a proactive approach and leveraging the tools at your disposal, you can manage your email communications with confidence and ease. Whether through careful review, utilizing drafts, or engaging in direct communication, effective email management is within reach.